Whereas nail artwork sounds dreamy in principle, not everybody can craft expert-level masterpieces on such a tiny canvas. After all, I am metaphorically elevating my hand: Let’s simply say my nail artwork abilities lean towards, nicely, very summary. I discover it troublesome to color on one colour with out Jackson Pollock–esque splotches on my finger pads and cuticles, not to mention wield a number of shades.
So after I attended a digital nail artwork workshop with sundays—a nail-care model targeted on wellness—I wasn’t anticipating to fall in love with my design. And but, I used to be pleasantly stunned! The tutorial was fairly minimal, even for a nail artwork novice like me, and I caught myself fluttering my fingers the subsequent day, marveling at my freshly manicured suggestions.
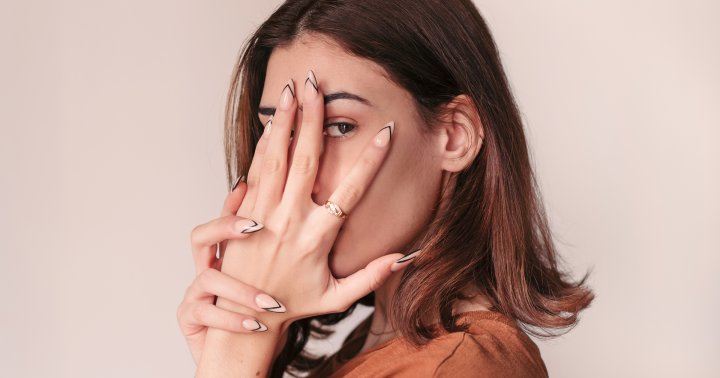
Behold, the simplest nail design ever: Let Mytien Le, nail specialist at sundays, stroll you thru.
An evil eye nail artwork tutorial.
The evil eye image spans a wide range of cultures and religions, usually adorned as a attraction or amulet as a protecting measure towards misfortune or damage. “[When you] put the evil eye in your hand, it could deliver one thing constructive to your every day life,” says Amy Lin, founding father of sundays. “And whenever you look down, you are uplifting your self.”
And it is oh-so-easy to create, even in your nail plate. This is what you will want:
- Nail clipper and file
- Cuticle pusher (or picket stick or delicate fabric)
- Cuticle oil
- Nail dotting instrument (or picket stick, make-up brush, or ballpoint pen)
- Small plate
- Base coat polish
- White polish
- Black polish
- Blue polish
- Prime coat polish
First issues first: Clip and file your nails to your required form. Strategies fluctuate relying on the guidelines you are gunning for (see all of them right here), however some upkeep is essential earlier than portray with polish. After shaping your nails, gently push the cuticles again together with your instrument of alternative (to make the polish last more, says Le), and therapeutic massage an oil into these nailbeds.
On to the precise portray bit: Apply your base coat (this hydrating quantity makes your nails tremendous robust), and let it dry for a second earlier than portray in your first coat of white paint. Now, an opaque white shade could look streaky on the nail plate at first, form of like you’ve gotten vertical ridges, however Le says to not fear: “The second coat will even it out,” she notes. Fairly, when you layer on globs of polish, your coat will simply take longer to dry.
After portray your digits white (permit them to dry for 2 to 3 minutes between coats), let your nails dry for 5 to 10 minutes earlier than making an attempt the nail artwork—in any other case, your base colour will dent or two polish colours will bleed collectively.
Now, for the design steps:
- Seize three nail artwork instruments, ideally all totally different sizes. A dotting set (like this selection) may make the job a contact simpler, however you need to use no matter small, rounded instrument you’ve gotten in your family. In response to Le, a picket stick or ballpoint pen can work, or you may even use the top of a small make-up brush.
- Seize a small ceramic or glass plate to make use of as a palette (the polish will simply bleed by a paper towel or serviette), and dot a heaping glob of every colour onto the floor. It is best to have a blue, black, and white spot—make sure that they do not fuse collectively.
- Dip your largest dotting instrument into the blue polish, and gently dot the colour onto the nail plate. Then dip your medium-size instrument into the white polish and create a smaller white spot on high of every blue circle. Lastly, dip your smallest instrument into the black polish and calmly faucet it on every white dot to create the pupil.
- Repeat in your different nails, when you like: You may both select one finger to characteristic the evil eye, or you may stamp one on every nail—artists’ alternative.
- Let your fingers dry for no less than 5 minutes, then apply a glaze of high coat to type a shiny lacquer.
The takeaway.
To boost your at-home mani, this evil eye nail design is extremely low stakes and appears professional-grade. The toughest half, I discovered, was not the evil eye itself however attaining an error-free coat of base polish—so when you can effortlessly swipe on a colour, this nail artwork is a seamless level-up.
Need your ardour for wellness to vary the world? Develop into A Useful Vitamin Coach! Enroll at this time to affix our upcoming stay workplace hours.